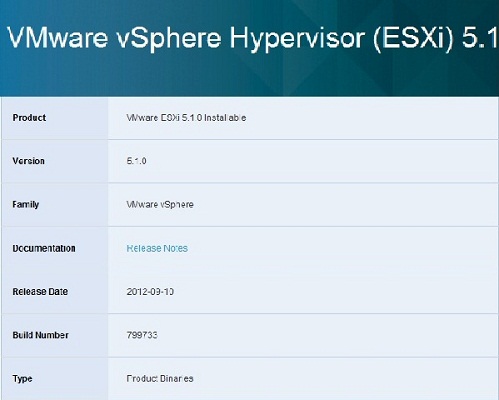
在2012年9月10日 VMWare 發行 ESXi 最新版本 VMware ESXi5.1
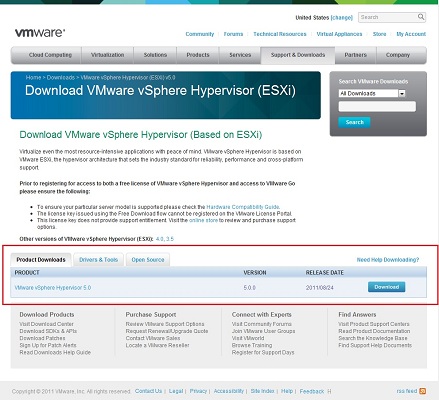
可至官網載點下載
使用了一段時間的VMware ESXi5.0來升級一下到5.1。升級的方式很簡單,只要跟著以下操作就可以了。升級的方式有兩種請選一種適合的使用就行了
方式一:
先下載ESXi5.1最新的ISO檔
官網載點 VMware-VMvisor-Installer-5.1.0-799733.x86_64.iso
本站載點 VMware-VMvisor-Installer-5.1.0-799733.x86_64.iso
1. 下圖為原本使用的VMware ESXi5.0畫面
先將伺服器關機,並放入VMware ESXi5.1的光碟後開機。(請記得用光碟開機)

2.開機後,出現ESXi-5.1.0-799733-standard Boot Menu(ESXi 5啟動選單)
請選擇ESXi-5.1.0-799733-standard Installer 來安裝

3.下面兩張圖為讀取光碟資料,請耐心等候。


4. 此為ESCi 5.1安裝的歡迎畫面,沒問題的話按Enter

5. 使用條款說明,同意的話就按F11

6. 以下為掃瞄到的硬碟設備,請依照各人掃瞄出來的結果,選擇當初安裝ESXi5.0的硬碟來升級ESXi 5.1。選擇好後按下Enter即可。

7. 掃瞄到硬碟中,有舊版本ESXi5.0,所以會做詢問。
在這邊因為要做版本升級,所以請選擇 [Upgrade ESXi, preserve VMFS datastore]
The selected storage device contains an installation of ESXi and a VMFS datastore. Choose whether to upgrade or install and overwrite the existing ESXi installation. Also choose whether to preserve or overwrite the existing VMFS datastore.
( ) Upgrade ESXi, preserve VMFS datastore (升級ESXi,並保留VMFS數據資料)
( ) Install ESXi, preserve VMFS datastore (安裝ESXi,並保留VMFS數據資料)
( ) Install ESXi, overwrite VMFS datastore(安裝ESXi,並覆蓋VMFS數據資料)

8. 確認升級的話就可按下F11開始升級。

9. 此為升級進度,請耐心等候

10.升級完成後,系統會要求重開機。

11. 重開機完成後。就可在VMWare ESXi畫面看到由原本的ESXi5.0升級為ESXi5.1了。
如此一來就升級完成。可以開啟相關VM測試看是否有問題。

方式二:
1. 先下載升及包 【VMware-ESXi-5.1.0-799733-depot】
有兩種下載方式,請選適合的
第一種:
官網下載點 : VMware-ESXi-5.1.0-799733-depot.zip
本站下載點 : VMware-ESXi-5.1.0-799733-depot.zip

然後上傳到ESXi

第二種:
由於更新檔有 279MB,為了能節省時間會建議直接用SSH的方式下載。
|
1 2 3 4 |
~ # cd /vmfs/volumes/datastore1 /vmfs/volumes/4f693956-8716c84a-5063-984be1641205 # wget http://goo.gl/asZin VMware-ESXi-5.1.0 0% |====================== | 1M 00:02:35 ETA |
2. 查看更新前的版本(以方便更新後比對)
主要看的是版本號: ESXi-5.0.0-469512
|
1 2 3 4 5 6 7 8 |
~ # esxcli software profile get ESXi-5.0.0-469512-standard Name: ESXi-5.0.0-469512-standard Vendor: VMware, Inc. Creation Time: 2012-09-24T22:56:31 Modification Time: 2012-09-25T00:09:15 Stateless Ready: True Description: |
3. 更新
3.1 維護模式
更新的部份可分為「維護模式」或「非維護模式」
在這邊以維護模式來說明
3.2 進入維持模式
|
1 2 |
~ # vim-cmd hostsvc/maintenance_mode_enter 'vim.Task:haTask-ha-host-vim.HostSystem.enterMaintenanceMode-112602429' |
此時查看VMware vSphere Client 發現在圖案的部份會不同,也會出現維護模式的字樣
![]()
3.3 開始更新 「esxcli software vib install -d 檔案路徑 」
|
1 2 3 4 5 6 |
~ # esxcli software vib install -d /vmfs/volumes/datastore1/VMware-ESXi-5.1.0-799733-depot.zip Installation Result Message: The update completed successfully, but the system needs to be rebooted for the changes to be effective. Reboot Required: true VIBs Installed: VMware_bootbank_ata-pata-amd_0.3.10-3vmw.510.0.0.799733, VMware_bootbank_ata-pata-atiixp_0.4.6-4vmw.510.0.0.799733, |
3.4 重開機
更新完後要重開機才會生效喔
|
1 |
~ # reboot |
重開機後會看到由原先的VMWare ESXi 5.0.0 更新為VMWare ESXi 5.1

3.5驗證是否更新完成
查看的內容會比更新前多不少東西,可查看是否有「esx-xserver 5.1.0-0.0.799733」
|
1 2 3 4 5 6 7 8 9 10 11 12 13 14 15 16 17 |
~ # esxcli software profile get (Updated) ESXi-5.0.0-469512-standard Name: (Updated) ESXi-5.0.0-469512-standard Vendor: localhost.localdomain Creation Time: 2012-09-25T00:23:49 Modification Time: 2012-09-25T00:29:33 Stateless Ready: True Description: 2012-09-25T00:23:49.828540+00:00: The following VIBs are installed: scsi-bnx2i 1.9.1d.v50.1-5vmw.510.0.0.799733 sata-sata-promise 2.12-3vmw.510.0.0.799733 ipmi-ipmi-devintf 39.1-4vmw.510.0.0.799733 esx-xserver 5.1.0-0.0.799733 misc-cnic-register 1.1-1vmw.510.0.0.799733 |
3.6 退出維護模式
|
1 2 |
~ # vim-cmd hostsvc/maintenance_mode_exit 'vim.Task:haTask-ha-host-vim.HostSystem.exitMaintenanceMode-278389939' |
此時查看VMware vSphere Client 發現圖案的部份,已恢復正常了
![]()
或是也可直接登入VMware vSphere Client查看是否有退出
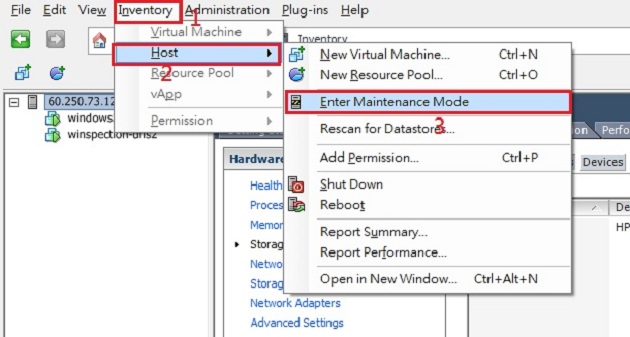
若紅框2的地方為Exit Maintenance Mode,表示還沒退出,請點選後退出

若紅框2內為Enter Maintenance Mode,表示已經退出了,

3.7 登入ESXi
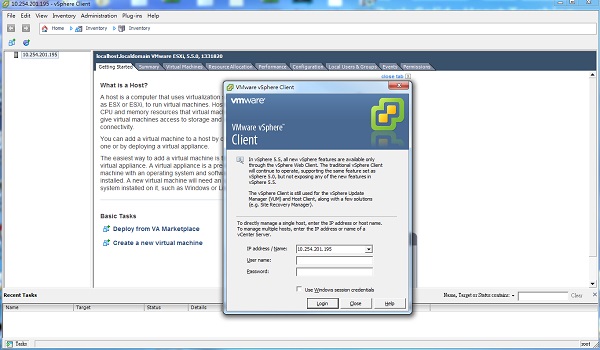
此時要登入時會發現,在VMware vSphere Client的部份會要求要更新到VMware vSphere Client 5.1 版才可使用





Hello,您好
謝謝你,你的文章讓我受益匪淺
但有個地方我不太清楚,我找不出下指令的畫面,可以幫忙解答嗎?
下指令需要用SSH 遠端連線的方式才能使用~